Gmail
The following instructions assume your organization is using the Google Workspace service.
Enabling IMAP Access for Gmail Account
1
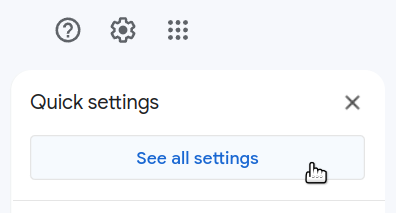
Open Gmail and in the top right section click the "Settings" icon. In the pane that is displayed, click "See all settings".
2
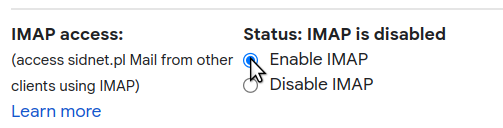
Go to the "Forwarding and POP/IMAP" tab and in the "IMAP access" section select the "Enable IMAP" option.
3
Click on "Save Changes".
Creating a Project
1
Go to the Google Cloud console at https://console.cloud.google.com/.
2
On the dashboard, click "Create or select a project", and in the pane that is shown, click "New Project".

3
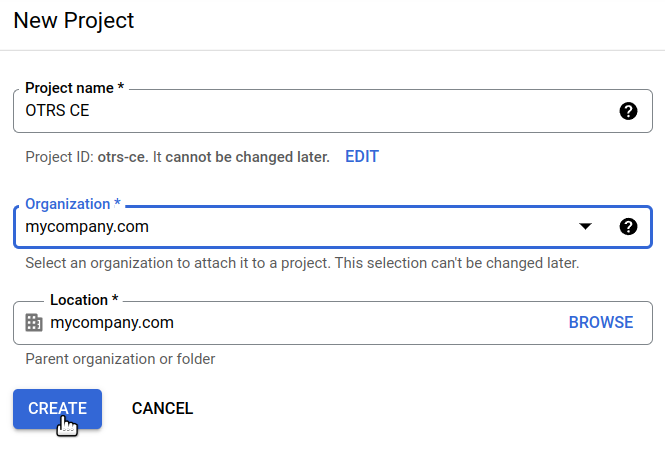
On the "New Project" screen, choose a name for the project (preferably one that can be associated with your OTRS CE system) and select the organization and location. Click "Create".
Configuring the Consent Screen
1
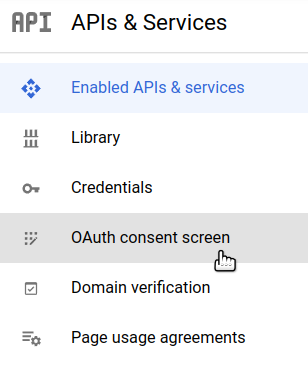
Expand the navigation menu in the top left section and select "APIs & Services".
2
In the left sidebar menu, select "OAuth consent screen".
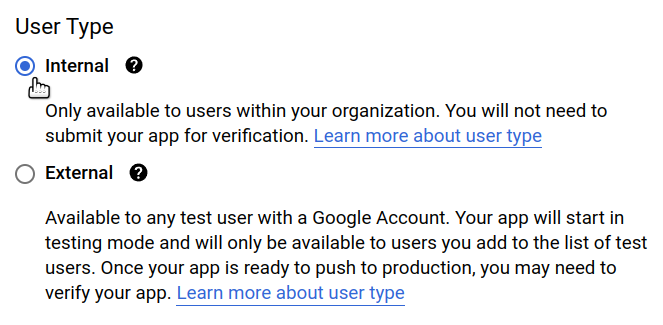
3
Select the user type. Normally, if your organization is using Google Workspace and Gmail, "Internal" should be the appropriate option.
4
Click "Create".
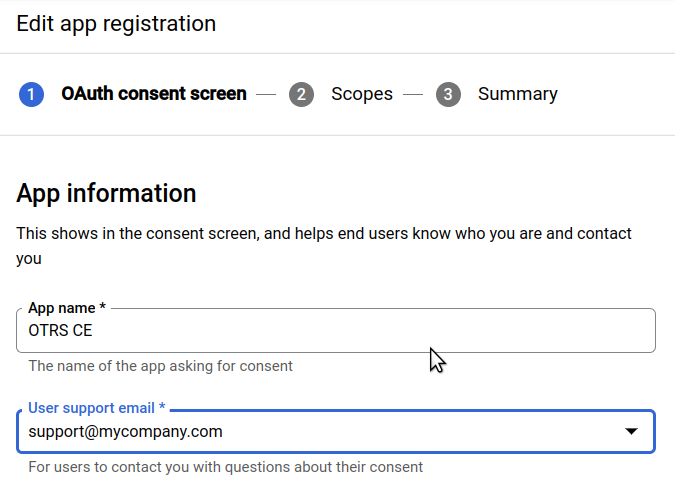
5
On the next screen, enter the name of the application that will be shown on the consent screen, and fill in the user support and developer e-mail addresses. Then, click "Save and continue".
6
On the "Scopes" and "Test users" screens, click "Save and continue".
A summary will be shown with the details of the OAuth consent screen.
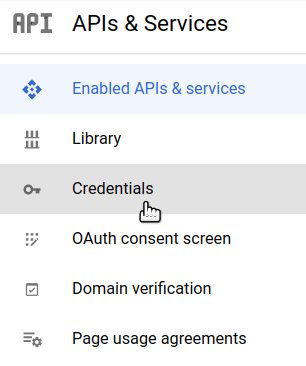
Configuring Credentials
1
In the left sidebar menu, select "Credentials".
2
Click "Create credentials" in the top section and select "OAuth client ID".
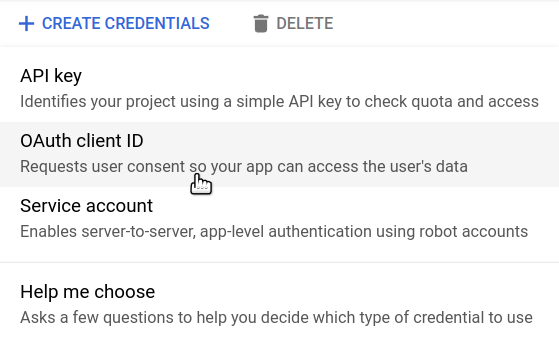
3
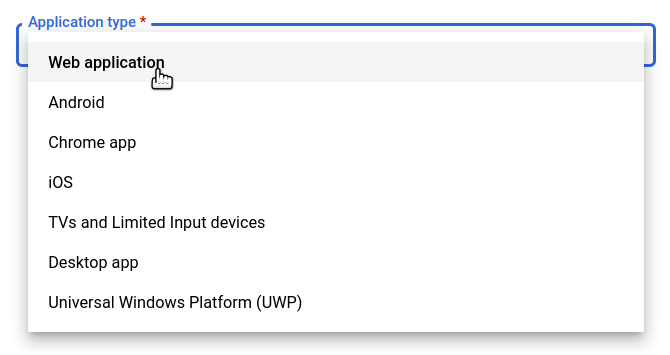
Select "Web application" as application type.
4
Enter a name for the client application (e.g. "OTRS CE web application").
5
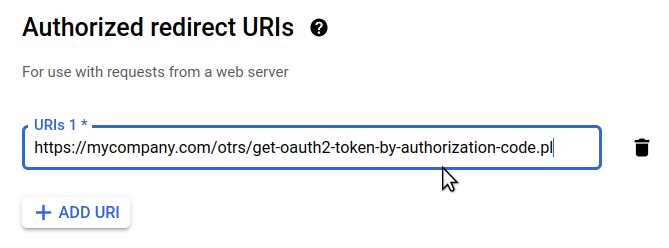
In the "Authorized redirect URIs" section, click "Add URI" and enter the token request URL. This URL is the base location of your OTRS CE instance (e.g. https://mycompany.com/otrs/) and the added script path get-oauth2-token-by-authorization-code.pl.
6
Click "Create".
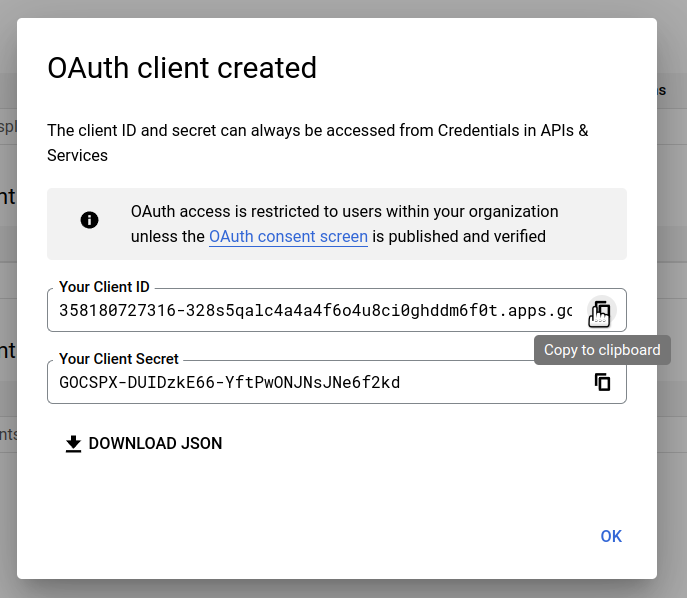
7
A popup window will be displayed with your application's client ID and client secret. Use the "Copy to clipboard" icon to save these values to later enter them in OTRS CE configuration.